Getting started #
Download VideoCom Bridge for Zoom here:
DownloadChoose the correct platform and install the downloaded app. Please note that Linux is only supported for enterprise customers.
On first start #
Launch the installed application. Either input the license key you got from your purchase via email or activate the free trail.
Free trail #
You will be redirected to a website of your payment provider Lemon Squeezy. There you can enter your email address and recieve a free trail license key.
The free trail has every feature the full version has, but is the output of both audio and video is watermarked. This watermark is removed by activating a purchased license.
Setting up your meeting #
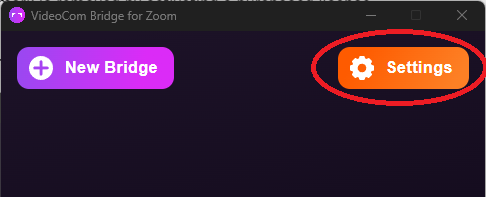
The first thing to do is to access the settings in the upper right hand corner of the app.
Then you enter the correct Meeting ID and password of the Zoom meeting you want to use the bridge in. If you leave the password empty, you will be asked to enter it when you join the meeting with a bridge.
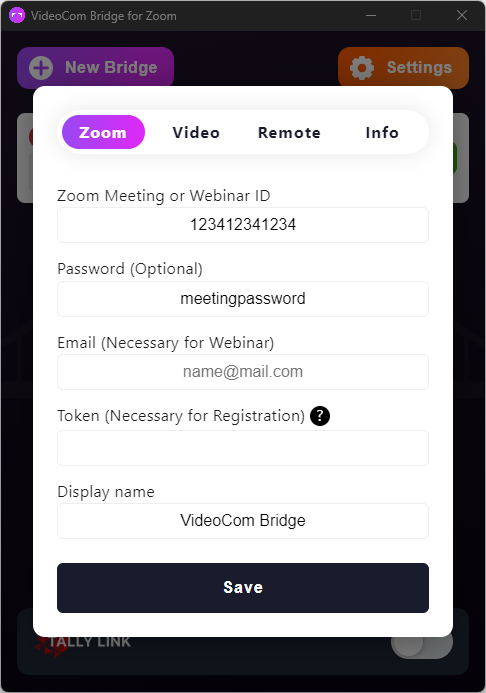
Email and Token field #
These fields must only be set when joining a Webinar or a meeting that requires a registration. If your meeting do not meet these categories, leave the fields empty.
You can then close the settings window.
Joining a bridge #
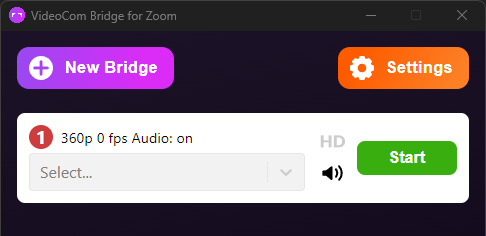
Now you can click on New Bridge to create your first NDI™ feed. With your first bridge created, click on Start to join the bridge to your meeting.
A few things will happen:
-
A new Bridge window opens with a minimalistic Zoom client window nested in it.
-
You will notice that there is a new participant in your Zoom meeting called “VideoCom Bridge 1” per default. This name can be changed in the settings.
-
Your Zoom client will notify you that this new participant wants to record the meeting.
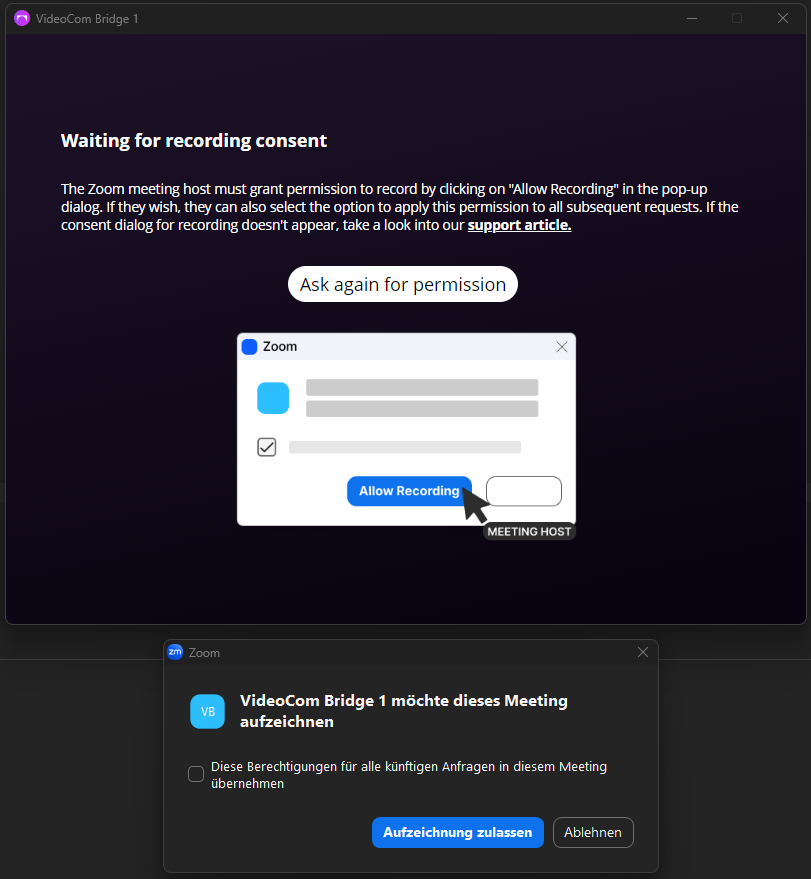
Recording consent #
You have to grant the bridge permission to record the meeting. All other participants will be notified of this recording and given the option to accept or to leave the meeting.
There is no way to circumvent this notification
It is required by Zoom for all applications that record audio or video.
After you have accepted the recording consent, the NDI™ output is created and the video and audio data is exported with it.
Usage of the bridge #
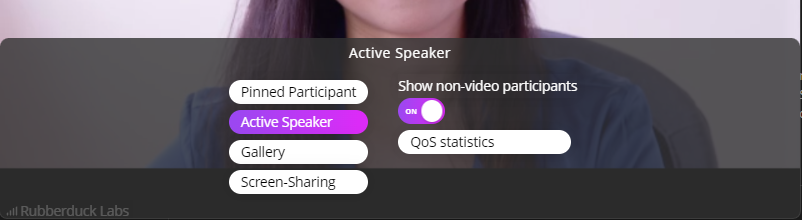
You can use the dropdown in the main VideoCom Bridge window to specify what is shown on the NDI™ output. Alternativly you can use the drawer at the bottom of the newly created bridge window.
If you need to quickly find the bridge window, click on the eye in the main window. The bridge window is then moved to the foreground of all windows.
If you get a black output, try pinning different participants with the bridge and verify the output again.
Viewing the output #
VideoCom Bridge for Zoom is link between Zoom and a video production software of your choice. You can use the following methods to test and view the NDI™ video stream.
NDI™ Studio Monitor #
Download and install this free software. Launch the NDI™ Studio Monitor and click on the “burger menu” in the upper left hand corner of the monitor. Select the name of you computer and then you should see the bridge name. Select it to view the output of this bridge.
OBS #
Download and install OBS.
Download and install the OBS “NewTek NDI™ integration into OBS Studio” from here
Launch OBS. Add the NDI™ stream as a source and view it.